Set Up Cluster and Extension
In This Section
Before You Begin
This section assumes that:
- You’ve previously set up a development environment for the Genvid MILE SDK.
- You can run the DirectX Sample in the cloud.
Before getting started, you also need:
- A Twitch Account for broadcasting your stream.
- A Twitch Developer Account for creating your extension.
- An installed copy of the Twitch Developer Rig.
- A working local bastion and cluster.
Edit the Terraform Configuration
You will need your address, stream key, and channel. More information on how to get them in the Configuring Live Streaming section of the Twitch Setup page.
You have two choices here:
Edit
twitch.sample.hclwhich is located in\samples\streaming_services.version = "1.7.0" settings { encode { stream { enable = true service = "twitch" // YOU MUST CHANGE THE ADDRESS, CHANNEL AND KEY VALUE addr = "rtmp://<twitch-ingest-server>/app" channel = "channelname" key = "live_NNNNNNNN_XXXXXXXXXXXXXXXXXXXXXXXXXXXXXX" } } leaf { port = 30001 } } // end of settings link "button" { name = "Twitch Channel" template = "http://twitch.tv/${key `genvid/encode/stream/channel`}" } // end of link "twitch" config { embed_ssl { enabled = true } } // end of config
You can then load it with the following command if using a local cluster:
genvid-sdk load-config twitch.sample.hcl
If using a cluster on the cloud:
genvid-sdk -c [clusterid] load-config twitch.sample.hcl
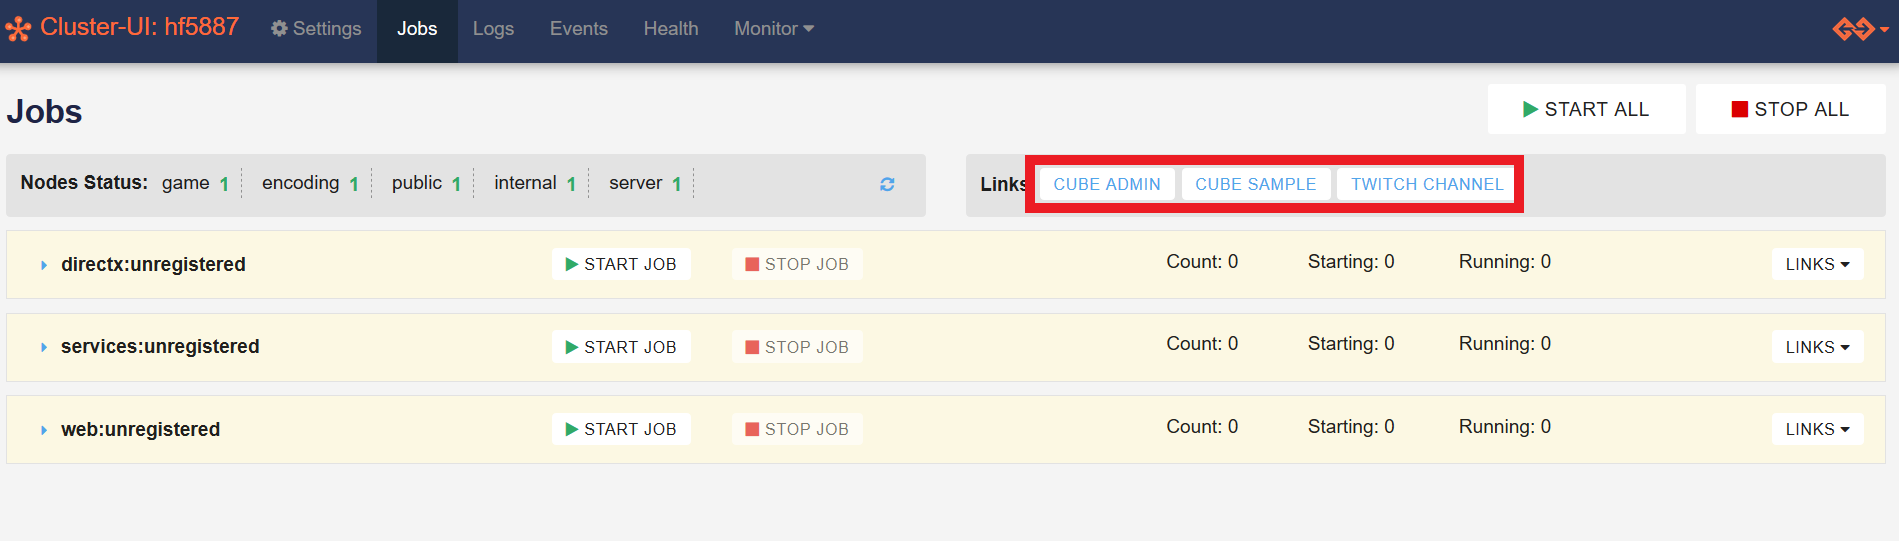
A new button TWITCH CHANNEL will appear that will redirect you to your Twitch channel. To test the embedded stream on the website just click on CUBE SAMPLE
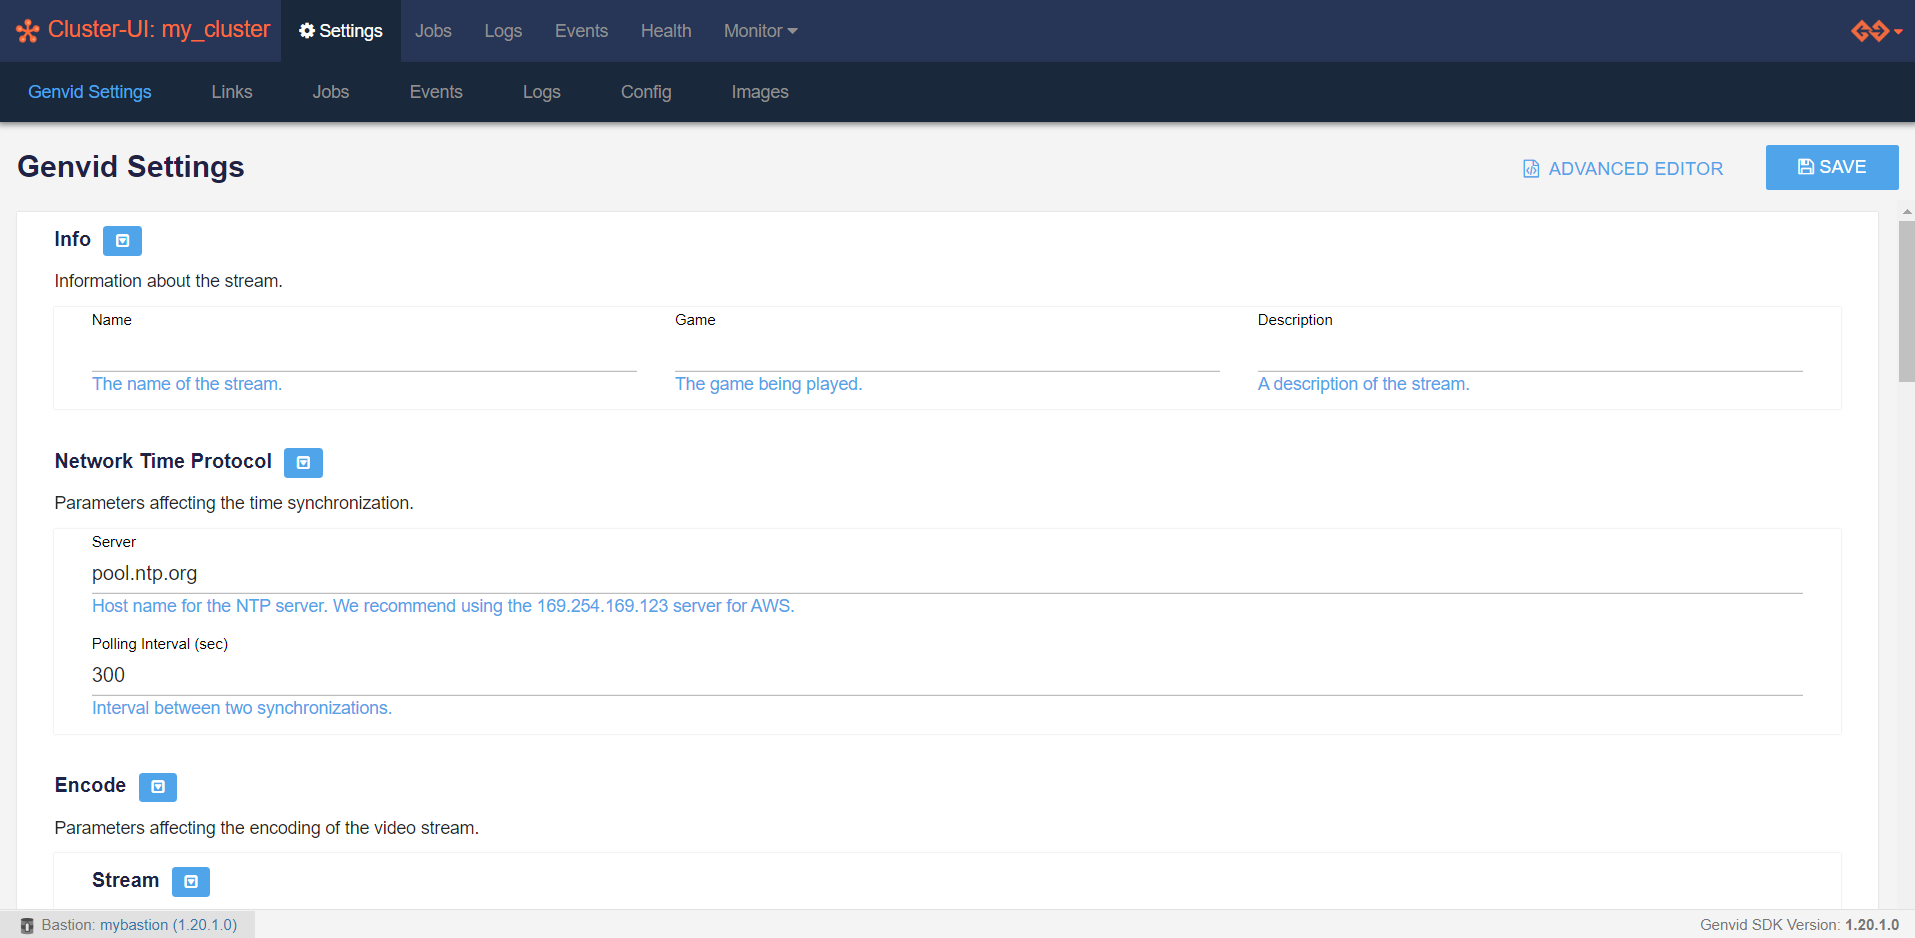
Or you can manually enter the parameters in the Cluster UI Settings page.
But in both cases you will then need to edit your secret key in twitchsecret.sample.hcl located in \samples\cube\twitch-extension\config.
version = "1.7.0"

secrets {
    twitch {
        TWITCH_EXT_CLIENT_SECRET = "ENTER_YOUR_TWITCH_EXT_CLIENT_SECRET"
    }
}
And then load it with the following command if using a local cluster:
genvid-sdk load-config twitchsecret.sample.hcl
Or if using a cluster on the cloud:
genvid-sdk -c [clusterid] load-config twitchsecret.sample.hcl
Warning
Whether you’re using SSL on a cloud or a local cluster, if you want to stream Twitch embedded on the website you will still need to load ‘twitch.sample.hcl’ located in ‘\samples\streaming_services’. If you load ‘twitch.sample.hcl’ before loading the web sample, the web sample will overwrite the value associated with the ‘embed_ssl’ from the ‘web.hcl’ file.
Start the DirectX Sample
Go to the
/samples/cube/directxdirectory.Copy the Genvid files used to build the project.
py directx.py prepare
Build the project.
py directx.py build
Load the sample.
py directx.py load
Go to the
/samples/cube/webdirectory.Build the website.
py web.py build
Load the website.
py web.py load
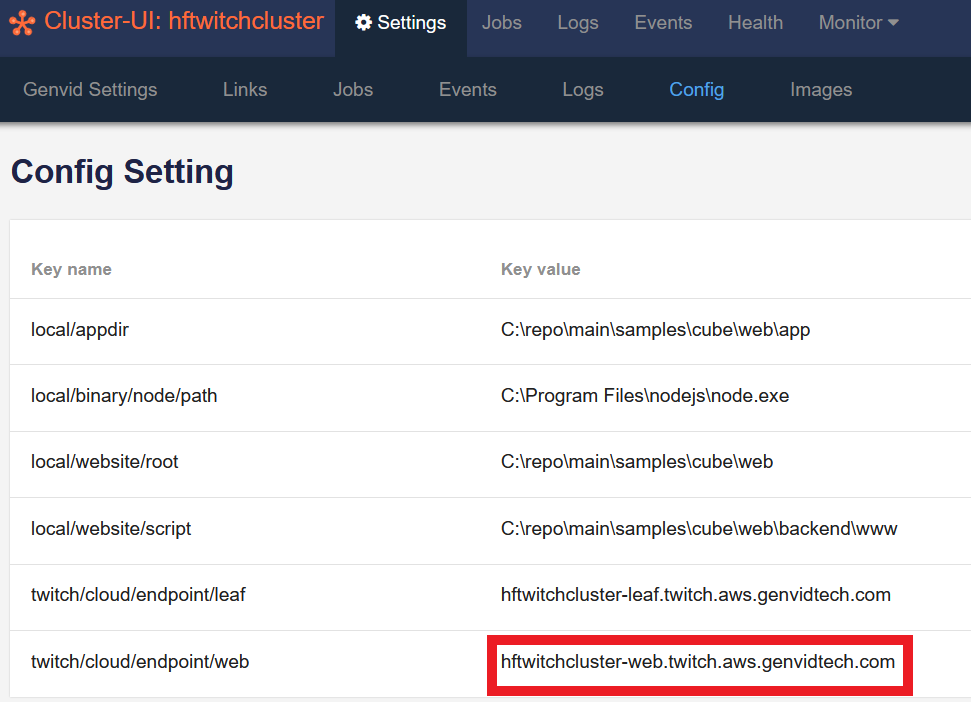
When using an SSL module with your cluster, a leaf endpoint and a web endpoint are created. These endpoints are loaded in the configuration of your cluster with the method loadEndpoint() when you load the website.
You can find the key values for these endpoints in your cluster settings:
Launch the Cluster UI.
genvid-sdk monitor
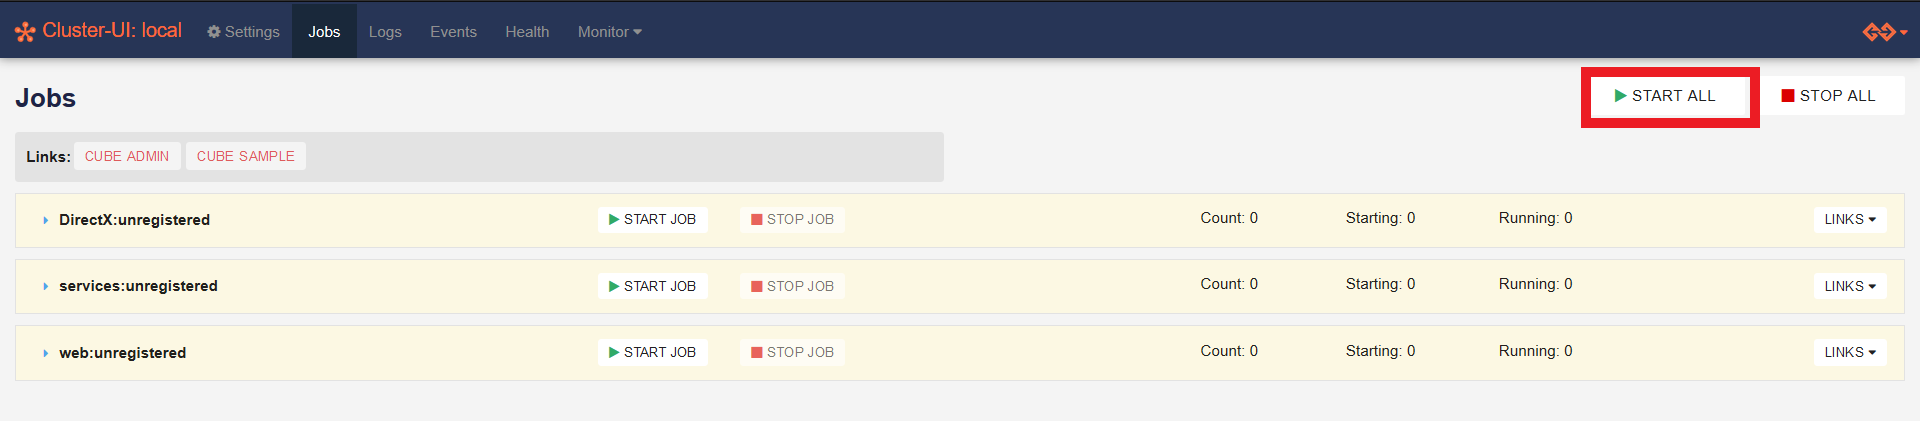
Click the Jobs tab.
Click START ALL.
Create a Twitch Extension
Note
This information is dependent upon systems maintained by Twitch. We do our best to keep it updated, but you should see the Twitch developer documentation for the latest information.
Open your Twitch Developer Account.
Click Your Dashboard.
Click Create Extension.
Choose a name for your extension. (It can be anything.)
Click Continue.
Under Create an Extension Version select Panel and Video - Fullscreen.
Enter something in Summary.
Click Create Extension Version.
The Genvid MILE SDK uses the Twitch Extension Configuration Service, so you need to activate it.
Select the Capabilities tab.
Under Select how you will configure your extension select Extension Configuration Service.
Click Save Changes.
Associate the Twitch Developer Rig with Your Extension
Open your Twitch Developer Rig.
Log in using your Twitch Account Credentials, if necessary.
Click Add Project.
Note: If this is the first project you’ve created, click Create Your First Project and skip the next step.
Click Create Project.
In the first drop-down menu under Select Existing or Create New Extension, select the Twitch Extension you just created.
Note: If you don’t see it, click the Refresh button.
Click Next.
Select the folder for your Twitch Extension project.
Note: In this case, it is
samples\cube. In general, it has to be the parent of the folder where your files are served.Select None - I’ll use my own code as your template.
Click Next.
Click Get Started.
This creates a JSON file in your project folder with all information related to the dev rig and project.
Now your Twitch Developer Rig is ready to stream the DirectX Sample.