Configure the Windows Instance
Setting up a Windows instance on your cloud environment is similar to setting up a real machine. This section walks you through setting up TightVNC for your remote connection, then the audio and video components you’ll need.
In This Section
Before You Begin
You will need the game_admin_password and the game_public_ips from the log output to login in the game machine.
You can find the output in the Bastion-UI.
Make sure the cluster is
UP.Go to the Commands page of your cluster.
Click the OUTPUT button.
You can find both in the JSON file.
(Optional) Change the VNC Password
The default VNC password is set to 1genvid6. Although the port is
not accessible outside the trusted IPs set by the system (which is
only the external IP of the developer machine IP by default), it is
still a good idea to change the password to something only your
team knows.
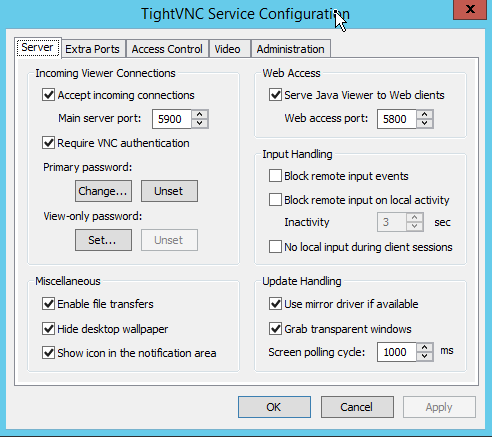
To modify the TightVNC configuration, click the TightVNC icon in the notification area of the taskbar.
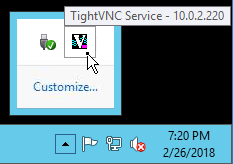
This opens the TightVNC configuration dialog where you can change the Primary password. After making your changes, restart TightVNC for them to take effect.
See also
Install the Virtual Audio Cable
Because the instance doesn’t have real speakers, the Genvid SDK uses virtual drivers. The SDK installation process adds a link to your desktop to start the driver install on your cluster.
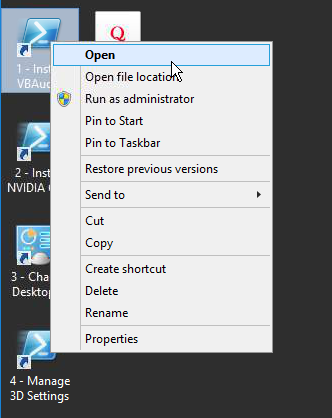
Launch the desktop link 1 - Install VBAudio.
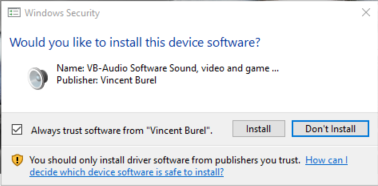
If a Windows Security dialog appears, click Yes.
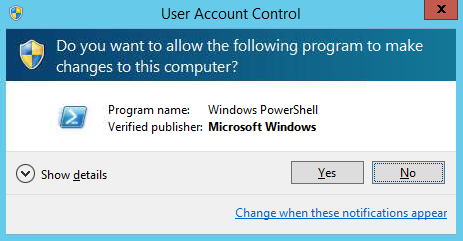
A window will pop up and the script downloads the installer and starts it.
Click Install Driver when the VBAudio installer appears.

If a Windows Security dialog appears, click Install.
Click OK when the installer finishes.
Important
You shouldn’t reboot when this step completes, as you still need to install the video drivers. Wait until after installing the video drivers to reboot.
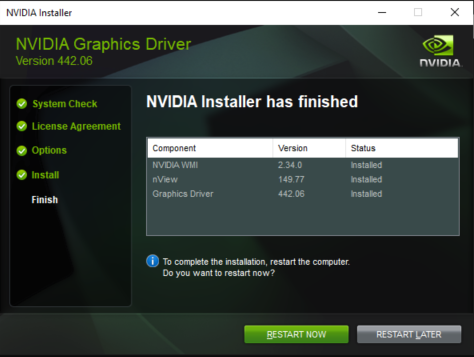
Install the NVIDIA GRID Drivers
The Genvid SDK uses NVIDIA GRID drivers for the cluster in order to process game video. The SDK installation process adds a link to your desktop to start the driver install on your cluster.
Launch the desktop link 2 - Install NVIDIA GRID Drivers.
This opens the NVIDIA download dialog for the driver.
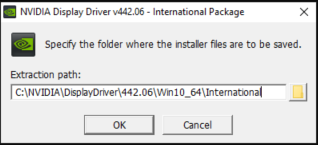
Click OK.
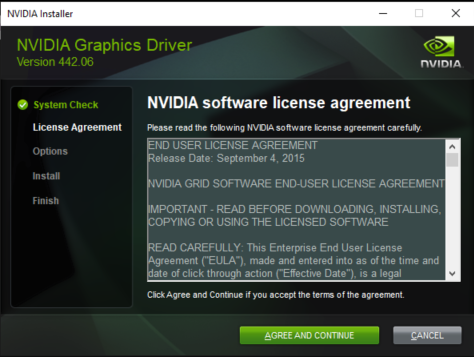
When the NVIDIA software license agreement appears, click AGREE AND CONTINUE.
If a Windows Security dialog appears, click Yes.
Select either Express or Custom installation, then click NEXT.
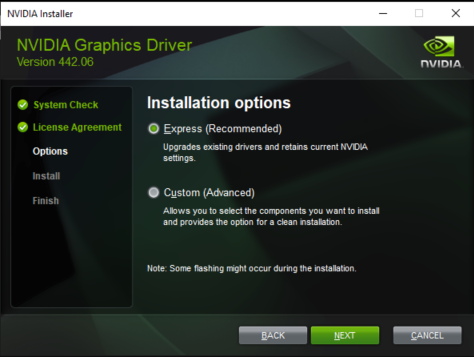
If you choose Custom, follow the steps provided to set up your installation.
When installation finishes, you’re prompted to reboot the machine. Restart it now to finish the setup.
The machine only needs a few seconds to restart, then you can reconnect to it.
Note
When you reboot the game machine, you will have to close the Server Manager Dashboard again.
Set Up the Display
After you reconnect to the cluster, you need to configure the virtual desktop. The SDK installation process adds links to your desktop to launch the desktop configuration setup.
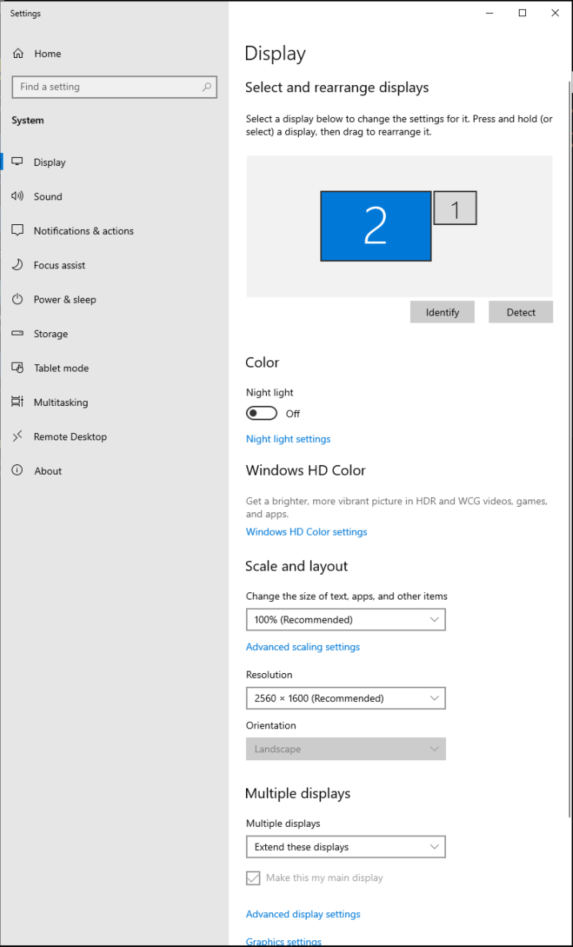
Launch the desktop link 3 - Change Desktop Resolution.
This opens the Display window. There should now be 2 displays with the newest (#2) using the NVIDIA VGX drivers.
Select the display using NVIDIA VGX (usually #2).
Under Multiple displays, select Make this my main display.
Under Resolution, select 2560x1600.
Note
This won’t affect either the game or the stream resolution, since the game runs windowed.
Click OK.
If you changed the resolution during this process, click Keep Changes.
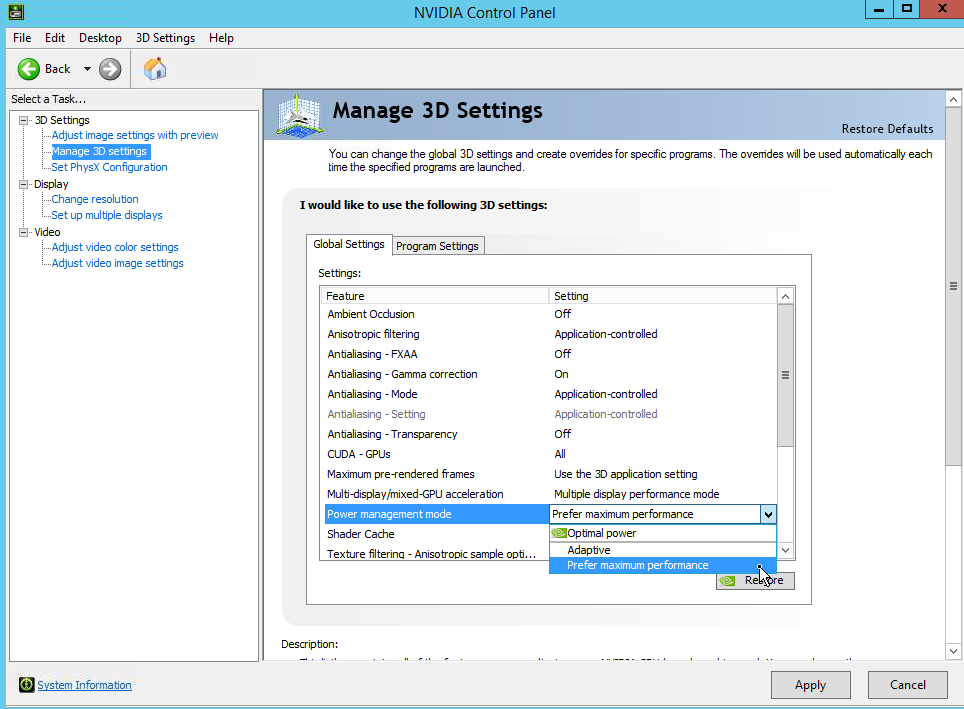
Launch the desktop link 4 - Manage 3D Settings.
This opens the NVIDIA Control Panel.
While you can select most 3D options you want, we recommend you set Power Management to favor performance.
Go to 3D Settings -> Manage 3D Settings
Under Power management mode, select Prefer maximum performance.
Click Apply.
Launch the desktop link 5 - Shutdown with Sysprep.
This will generalize the VM so the image created from it can be used to spin up other VMs.
The link will start a small window that will disappear once the process is finished and the machine will automatically shutdown.
Time Source
By default, the machine is configured to sync its clock with Azure’s recommended
time server: time.windows.com.
See the Azure documentation for more information
Finish Customizing the Game Machine
You can now customize and install any runtime libraries or special software you want on the machine. Although you can update the game later, you can save some setup time if nothing is likely to change.